Back To Galleries
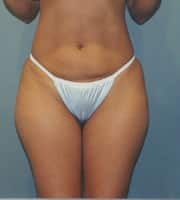
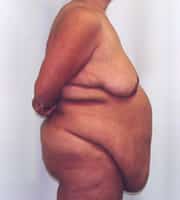
![Liposuction 13 Patient Before]()
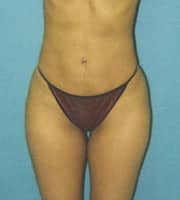
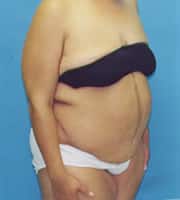
![Liposuction 13 Patient After]()
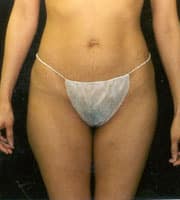
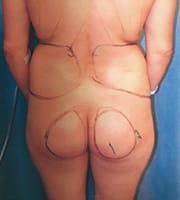
![Liposuction 14 Patient Before]()
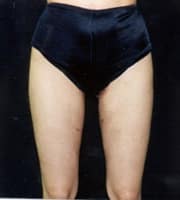
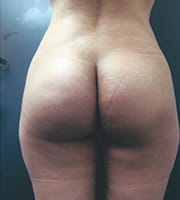
![Liposuction 14 Patient After]()
![Liposuction 15 Patient Before]()
![Liposuction 15 Patient After]()
![Liposuction 16 Patient Before]()
![Liposuction 16 Patient After]()
Liposuction 13
Liposuction 14
Liposuction 15
Liposuction 16
*Individual results may vary